This is my everyday basic makeup routine.
Sometimes I like to draw focus to my eyes.
Sometimes I like to draw focus to my lips.
Here's my basic routine with the emphasis on lips.
I will post another soon with my "focus on eyes" look soon.
This look only takes a few minutes making it perfect for school, moms or just someone who doesn't have the patience for "real" makeup everyday (like me)
so...here we go.
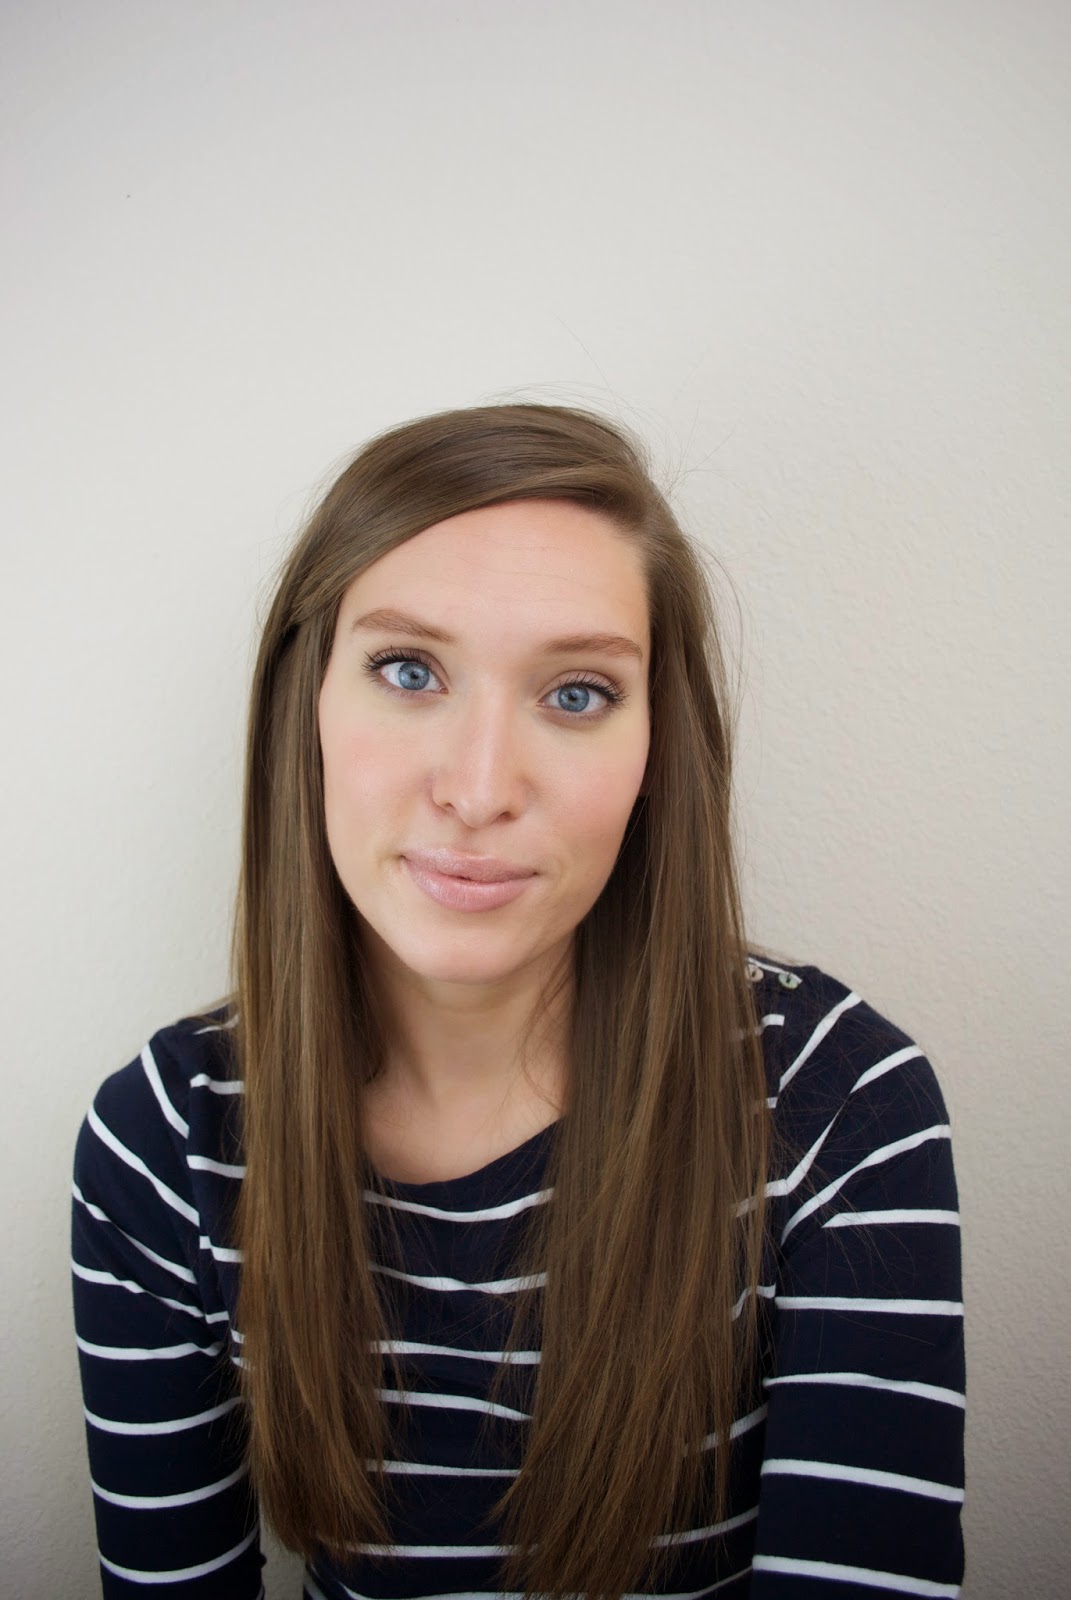
Start with a clean and moisturized face.
(no makeup Margeaux! AH! please keep scrolling!!)
I don't like to wear foundation, bb cream or tinted moisturizer on a regular basis.
If I'm going out on a fancy date....sure.
But it's too heavy for my skin for everyday.
(my skin is ultra, mega, super sensitive and acne prone so....as little as possible is best)
I find the things that I do want to cover up on a daily basis and cover JUST those things.
Like my dark circles under my eyes....
They need HELP!!
It's a nice and thick but blend-able concealer that stays put all day long.
I like to draw in the full triangle under my eye from my nose to the outer corner of my eye, and a little around the bottom of my nose.
It covers the dark and makes you look a little more naturally lit at the same time.
2 in 1
AND keeping it natural lookin? Perfect!
But honestly who can take themselves seriously while they have their face painted like this.
So go ahead and make some faces and let out a war cry.
It's all part of the process...
This is Husband's favorite step :)
Using my finger I just blend blend blend away those little dark spots.
The yellow tint of the W1-2-3 color of the concealer stick is perfect for neutralizing my dark circles.
You might need to experiment a little to find out what color would work best for you.
(We can go into this in more detail if you guys have questions about what colors to use to neutralize dark circles and discolorations.
Let me know in the comments if you do and I'll start working on that asap)
If not just pretend I never said anything :)
Thanks....
Up next is my favorite concealer stick.
This little stick is MAGIC!
It is waterproof so it stays all day but doesn't clog my pores up.
MAGIC I tell you!
I kind of am obsessed with it.
(Target carries only a few colors so if you don't match any of the ones there don't worry. find your closest
ULTA store and they tend to carry a lot more options. They're just usually more expensive so I tend to try and find things at Walmart or Target first :) Sorry ULTA.)
After you have perfected your skin in the most "oh so natural looking" way,
it's time for a little color.
It's awesome!
It has a bronzer AND a blush in it for 3 dollars!
Let me say that again...
$3.00!!
I have been using a sample of the
benefit hoola for a long time now and this bronzer is so similar it's not even funny.
Plus at 1/7th the price...I can live with a TINY bit of difference for that price.
(I'll post a picture if you're interested later. Seriously, they are the same!)
And the blush is a beautiful color. Perfect for everyday wear.
Just a little bronzing powder right under the cheek bones.
And a little blush right on the apples of your cheeks.
$3.00!! Why are you still reading this!?
Go get it, come back and THEN we'll finish the rest.
I'll wait for you to get back...
......
Ok
Up next is the eyebrow scene.
I've used this same product for years.
As long as you keep it sharp it'll be your brow's best friend.
Use a light hand and lots of little strokes mimicking the look of your natural hair.
I think I just got my pencil too dark this last time. I sometimes struggle.
So fill them in and if it feels like too much.....
Use an old mascara wand,
CLEANED of course,
and brush brush brush to natural filled in perfection.
Next is where I decide if I am going to go with a bold lip or eye for the day.
Today we're talking lip so....green crazy lipstick it is. :)
I put this here because If I choose to do eyes I put liner on before mascara.
but since I'm not...
On to mascara!
This mascara is bomb!
I have yet to find one that works as well for me and my lashes.
But you use your favorite mascara.
You know, the one that makes your lashes exactly how you imagine them looking if you were granted one eyelash wish by a magical mascara/eyelash genie....that one. Use that one.
Done.
Up next is lips.
This lipstick is my favorite for those days that I want to wear a bolder lip color
but don't want to fuss over it all day.
I found this lipstick at a walgreens for 2 bucks when we lived in Hawaii...
problem is they don't sell it on the mainland.
But you can buy it online.
And i'm sure they have similar products around somewhere....right?
Anyway,
Prep your lips...
This is a stain so if you have any uneven-ness or dry skin it will SHOW!
(I'll post another tutorial if y'all are interested in my prep process)
and then swipe on a layer of this crazy green lipstick and watch what happens.
It reacts with your body's heat to create the perfect pinky shade for you.
It's great
Plus it's a stain...so it doesn't budge ALL DAY!
(I'm really all about putting it on once and being done for the day)
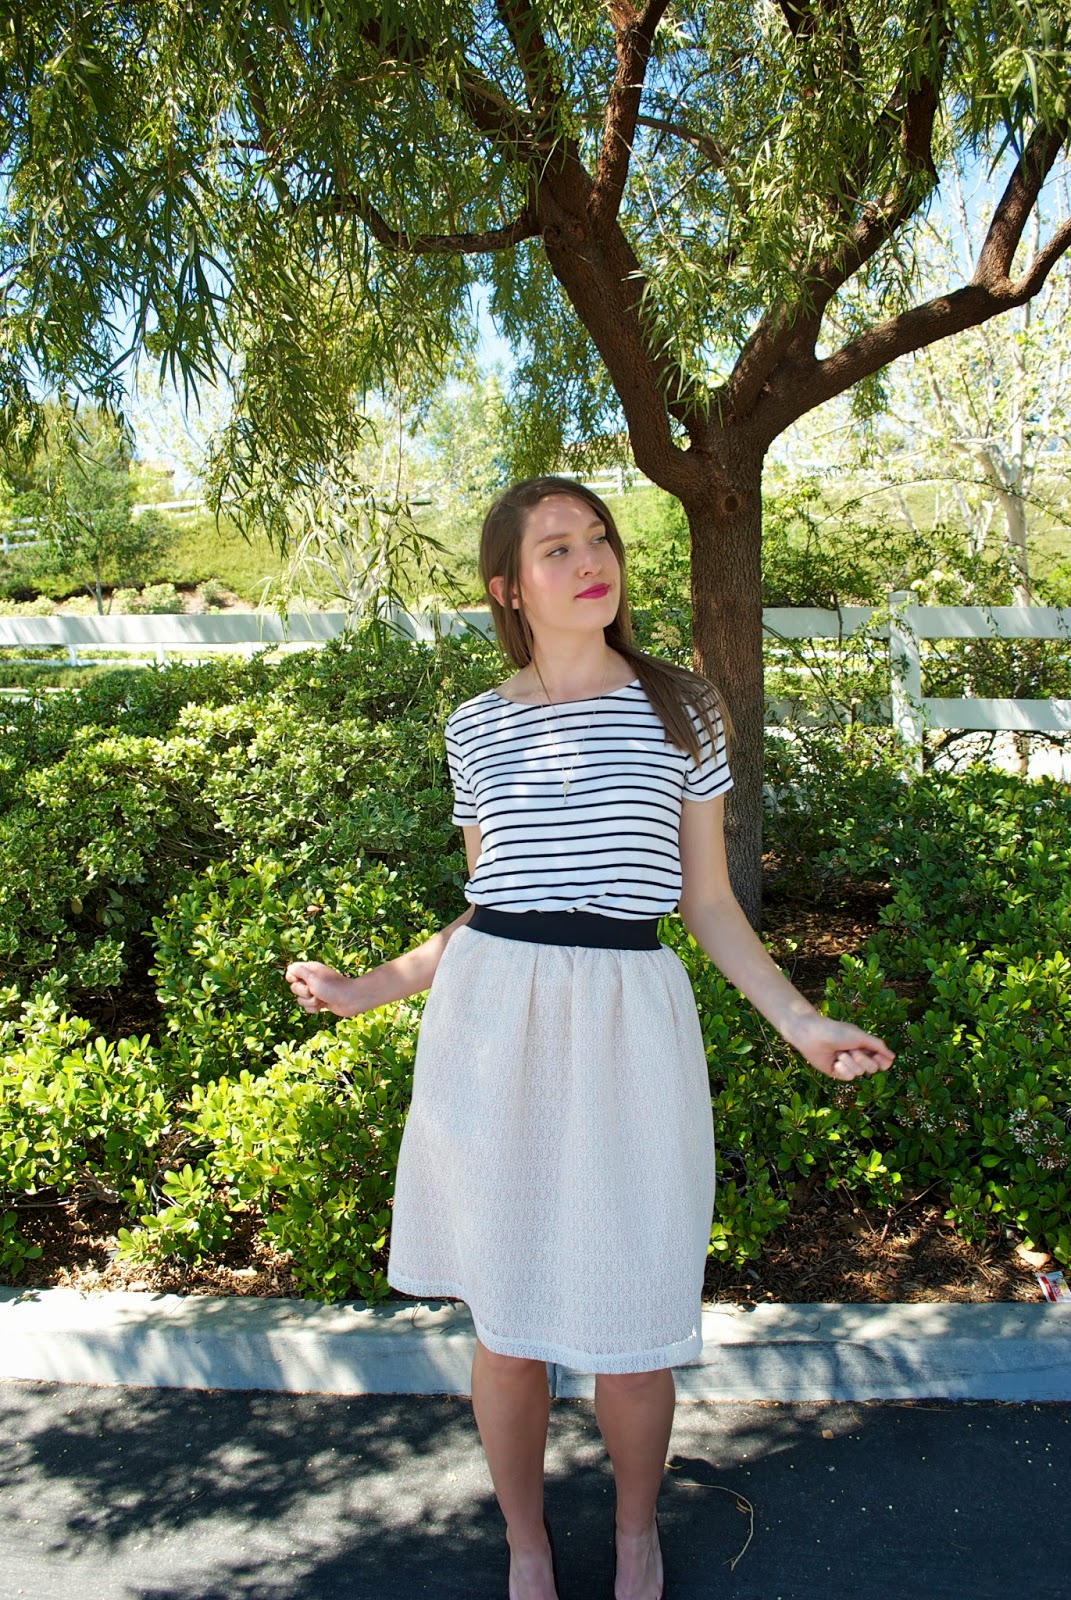
So play with your hair while you wait for you lipstick to turn it's perfect, all day strong, lovely shade of boldish pink.
Lovely.
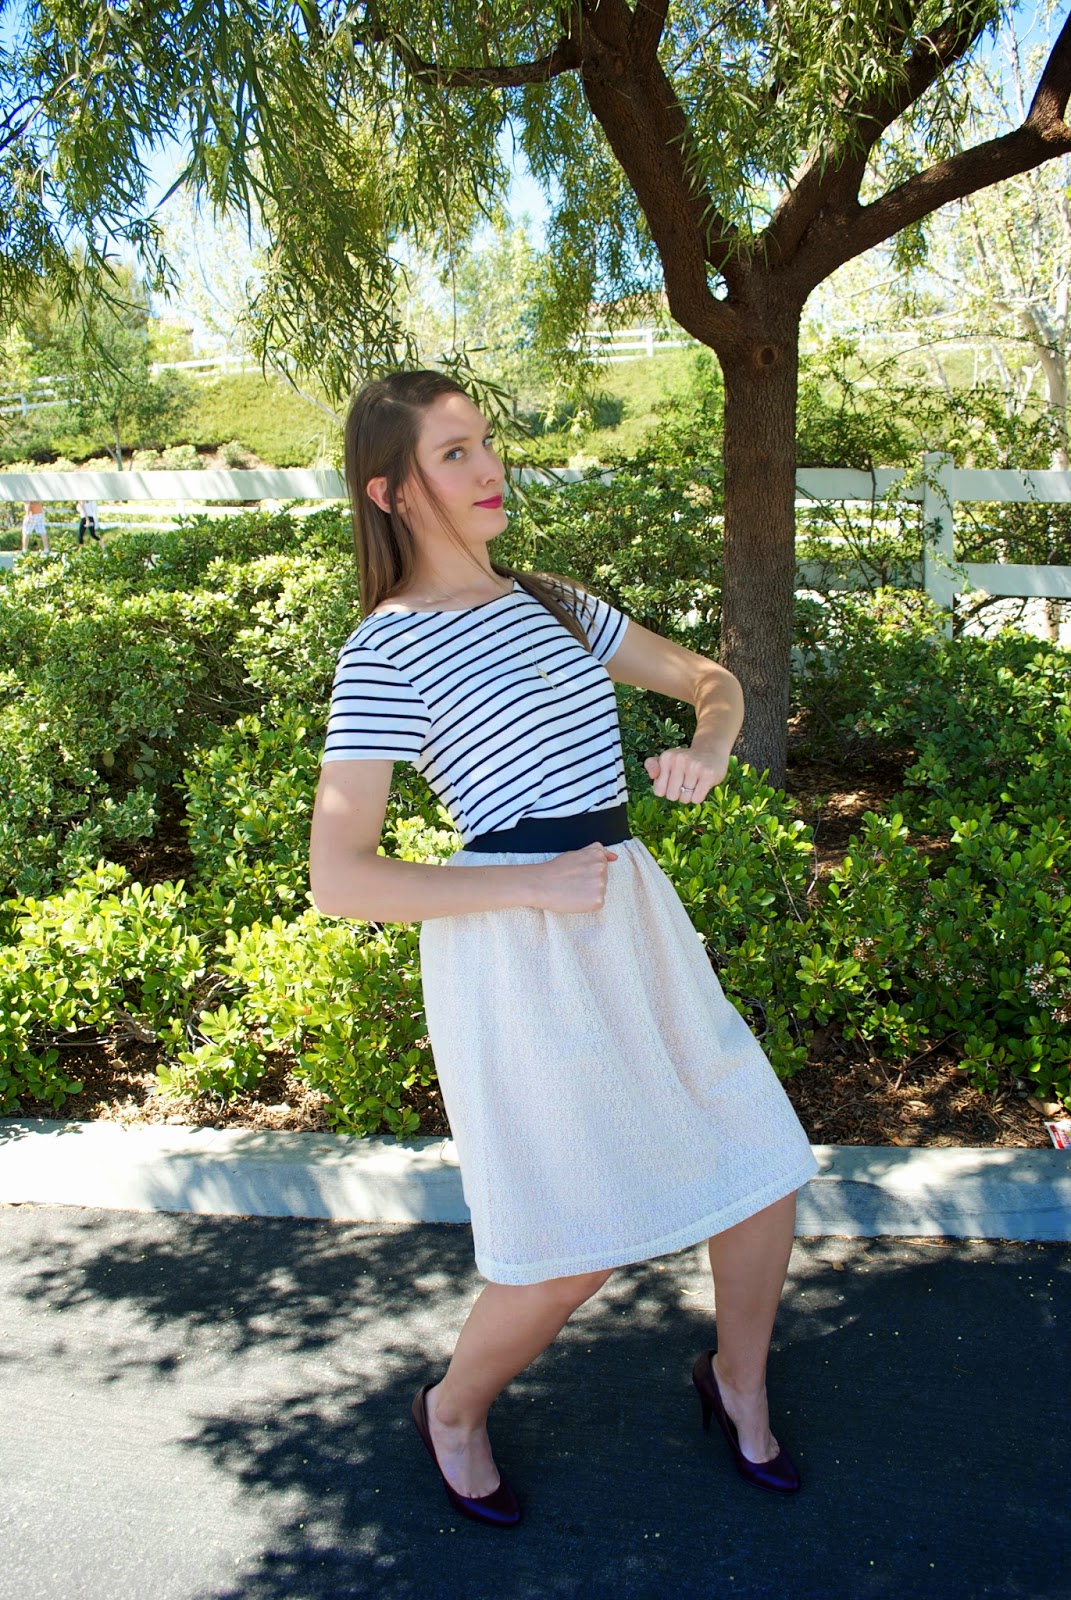
And that's it.
It takes me about 7 minutes to get my makeup on for the day
and oh what a difference it makes.
Let me know what you guys think or if you have any questions on anything. :)
Would you be interested in seeing more more tutorials like this?
leave a comment below and let's be friends :)
All the products and what shade I used: